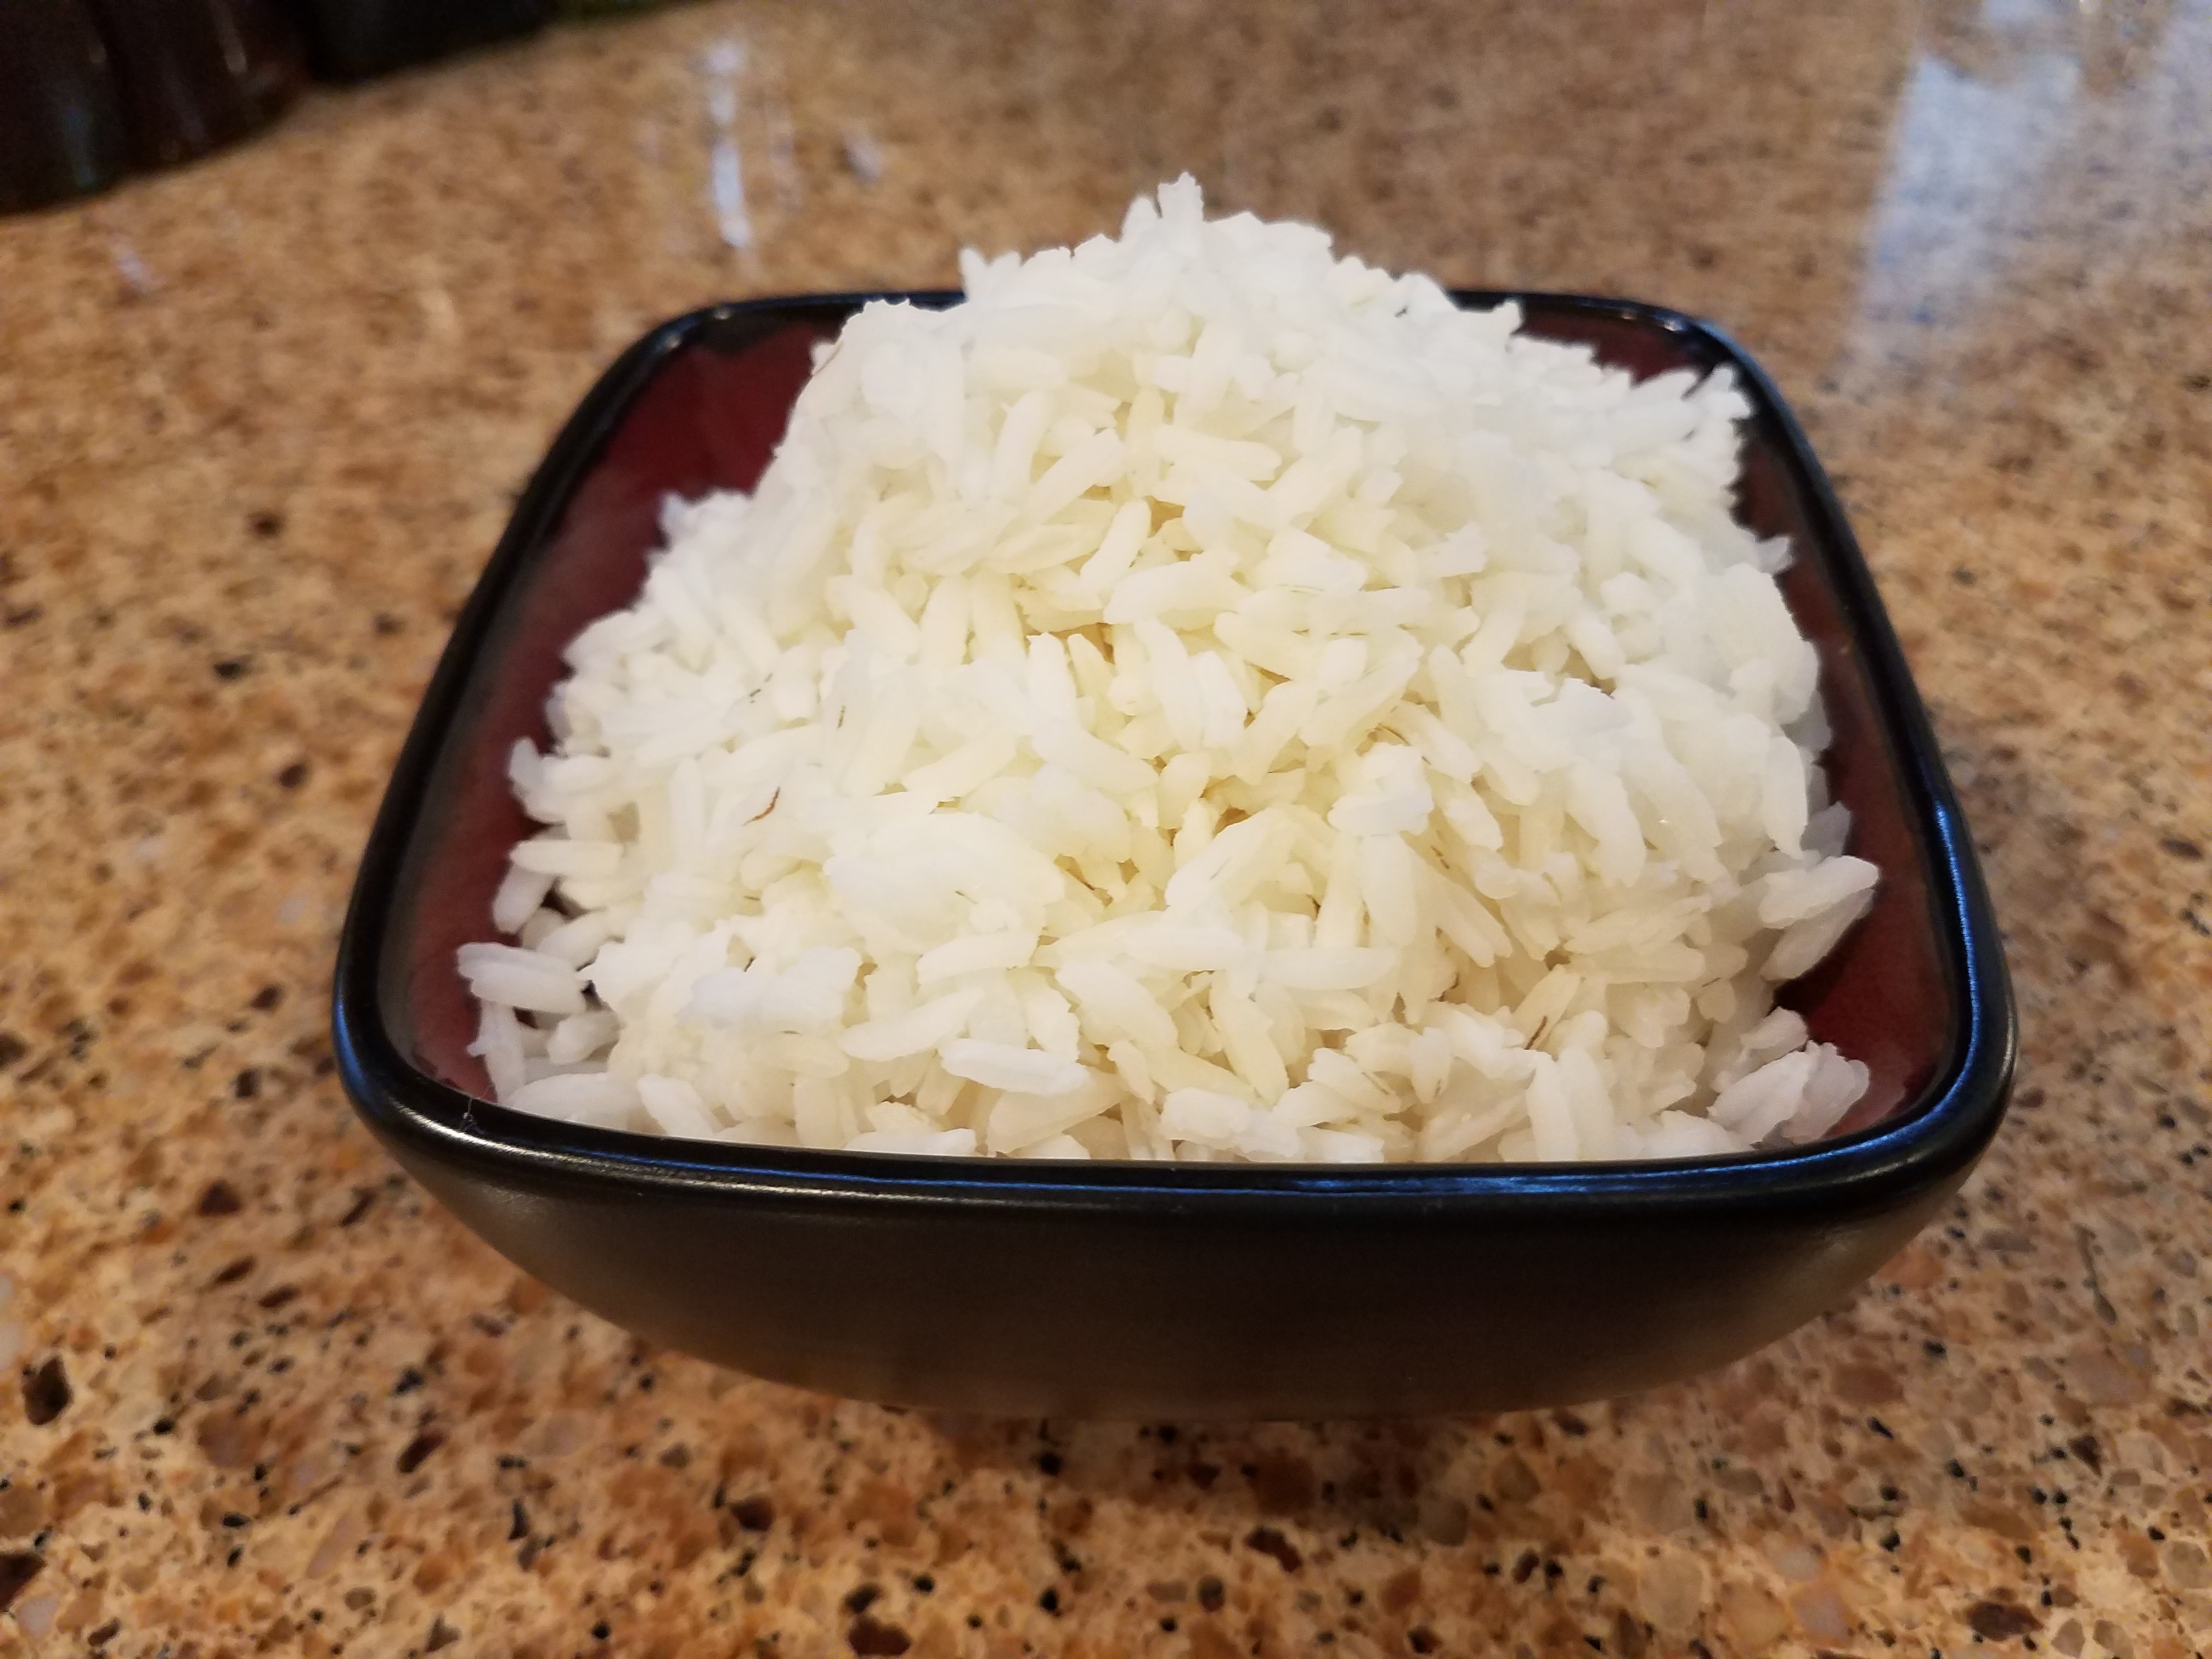
So I researched cooking rice via sous vide and found some interesting information. The most comprehensive information was contained in a video from America’s Test Kitchen’s Dan Souza that explains water to rice ratios and why sous vide cooking consistently succeeds where other methods may have variable results. The gist of the video is to cook white rice using sous vide in a 1 to 1 water to rice ratio at 200º F for 25 minutes. There are many benefits when using this approach, so here are just a few. First, the results are incredible every time. Second, the portion is perfect for one ‘single diner’ meal. Third, the timing is spot on so you can time the remainder of your meal to finish when the rice is done. Fourth, the possibilities of seasoning or flavorings you can cook/infuse into the rice are endless. And last, it is really simple and clean-up is a breeze! So, are you ready to up your rice cooking game? If you are, set up your sous vide water bath and let’s get cooking!
- ½ cup white rice
- ½ cup water or broth
- ⅛ tsp salt
- any spices or flavorings desired
- Set up the sous vide water bath for 200 degrees F.
- Rinse the rice to remove any surface starch.
- In a recloseable bag, add the rice, salt, seasonings (if desired), and water (or broth).
- Using the water displacement method, remove as much air as possible before closing.
- Place the bag into the water bath and clip to the side.
- After 25 minutes, remove the bag and empty into a bowl.
- Lightly fluff the rice with a fork.
Asian - ginger and garlic with jasmine rice
Caribbean - black pepper, oregano, cumin, cayenne pepper, paprika, and dried cilantro with medium and long grain
Cajun - black pepper, garlic powder, onion powder, oregano, thyme, creole seasoning, and file with long grain
This recipe is based on information from Dan Souza's video for America's Test Kitchen.

Set up the sous vide water bath for 200 degrees F. Rinse the rice to remove any surface starch. In a recloseable bag, add the rice, salt, seasonings (if desired), and water (or broth). Using the water displacement method, remove as much air as possible before closing. Place the bag into the water bath and clip to the side. After 25 minutes, remove the bag and empty into a bowl. Lightly fluff the rice with a fork.

Enjoy!

Share this:
- Click to share on Facebook (Opens in new window)
- Click to share on Pinterest (Opens in new window)
- Click to share on Twitter (Opens in new window)
- Click to share on Tumblr (Opens in new window)
- Click to share on Reddit (Opens in new window)
- Click to share on WhatsApp (Opens in new window)
- Click to email a link to a friend (Opens in new window)
- Click to print (Opens in new window)
Related Posts
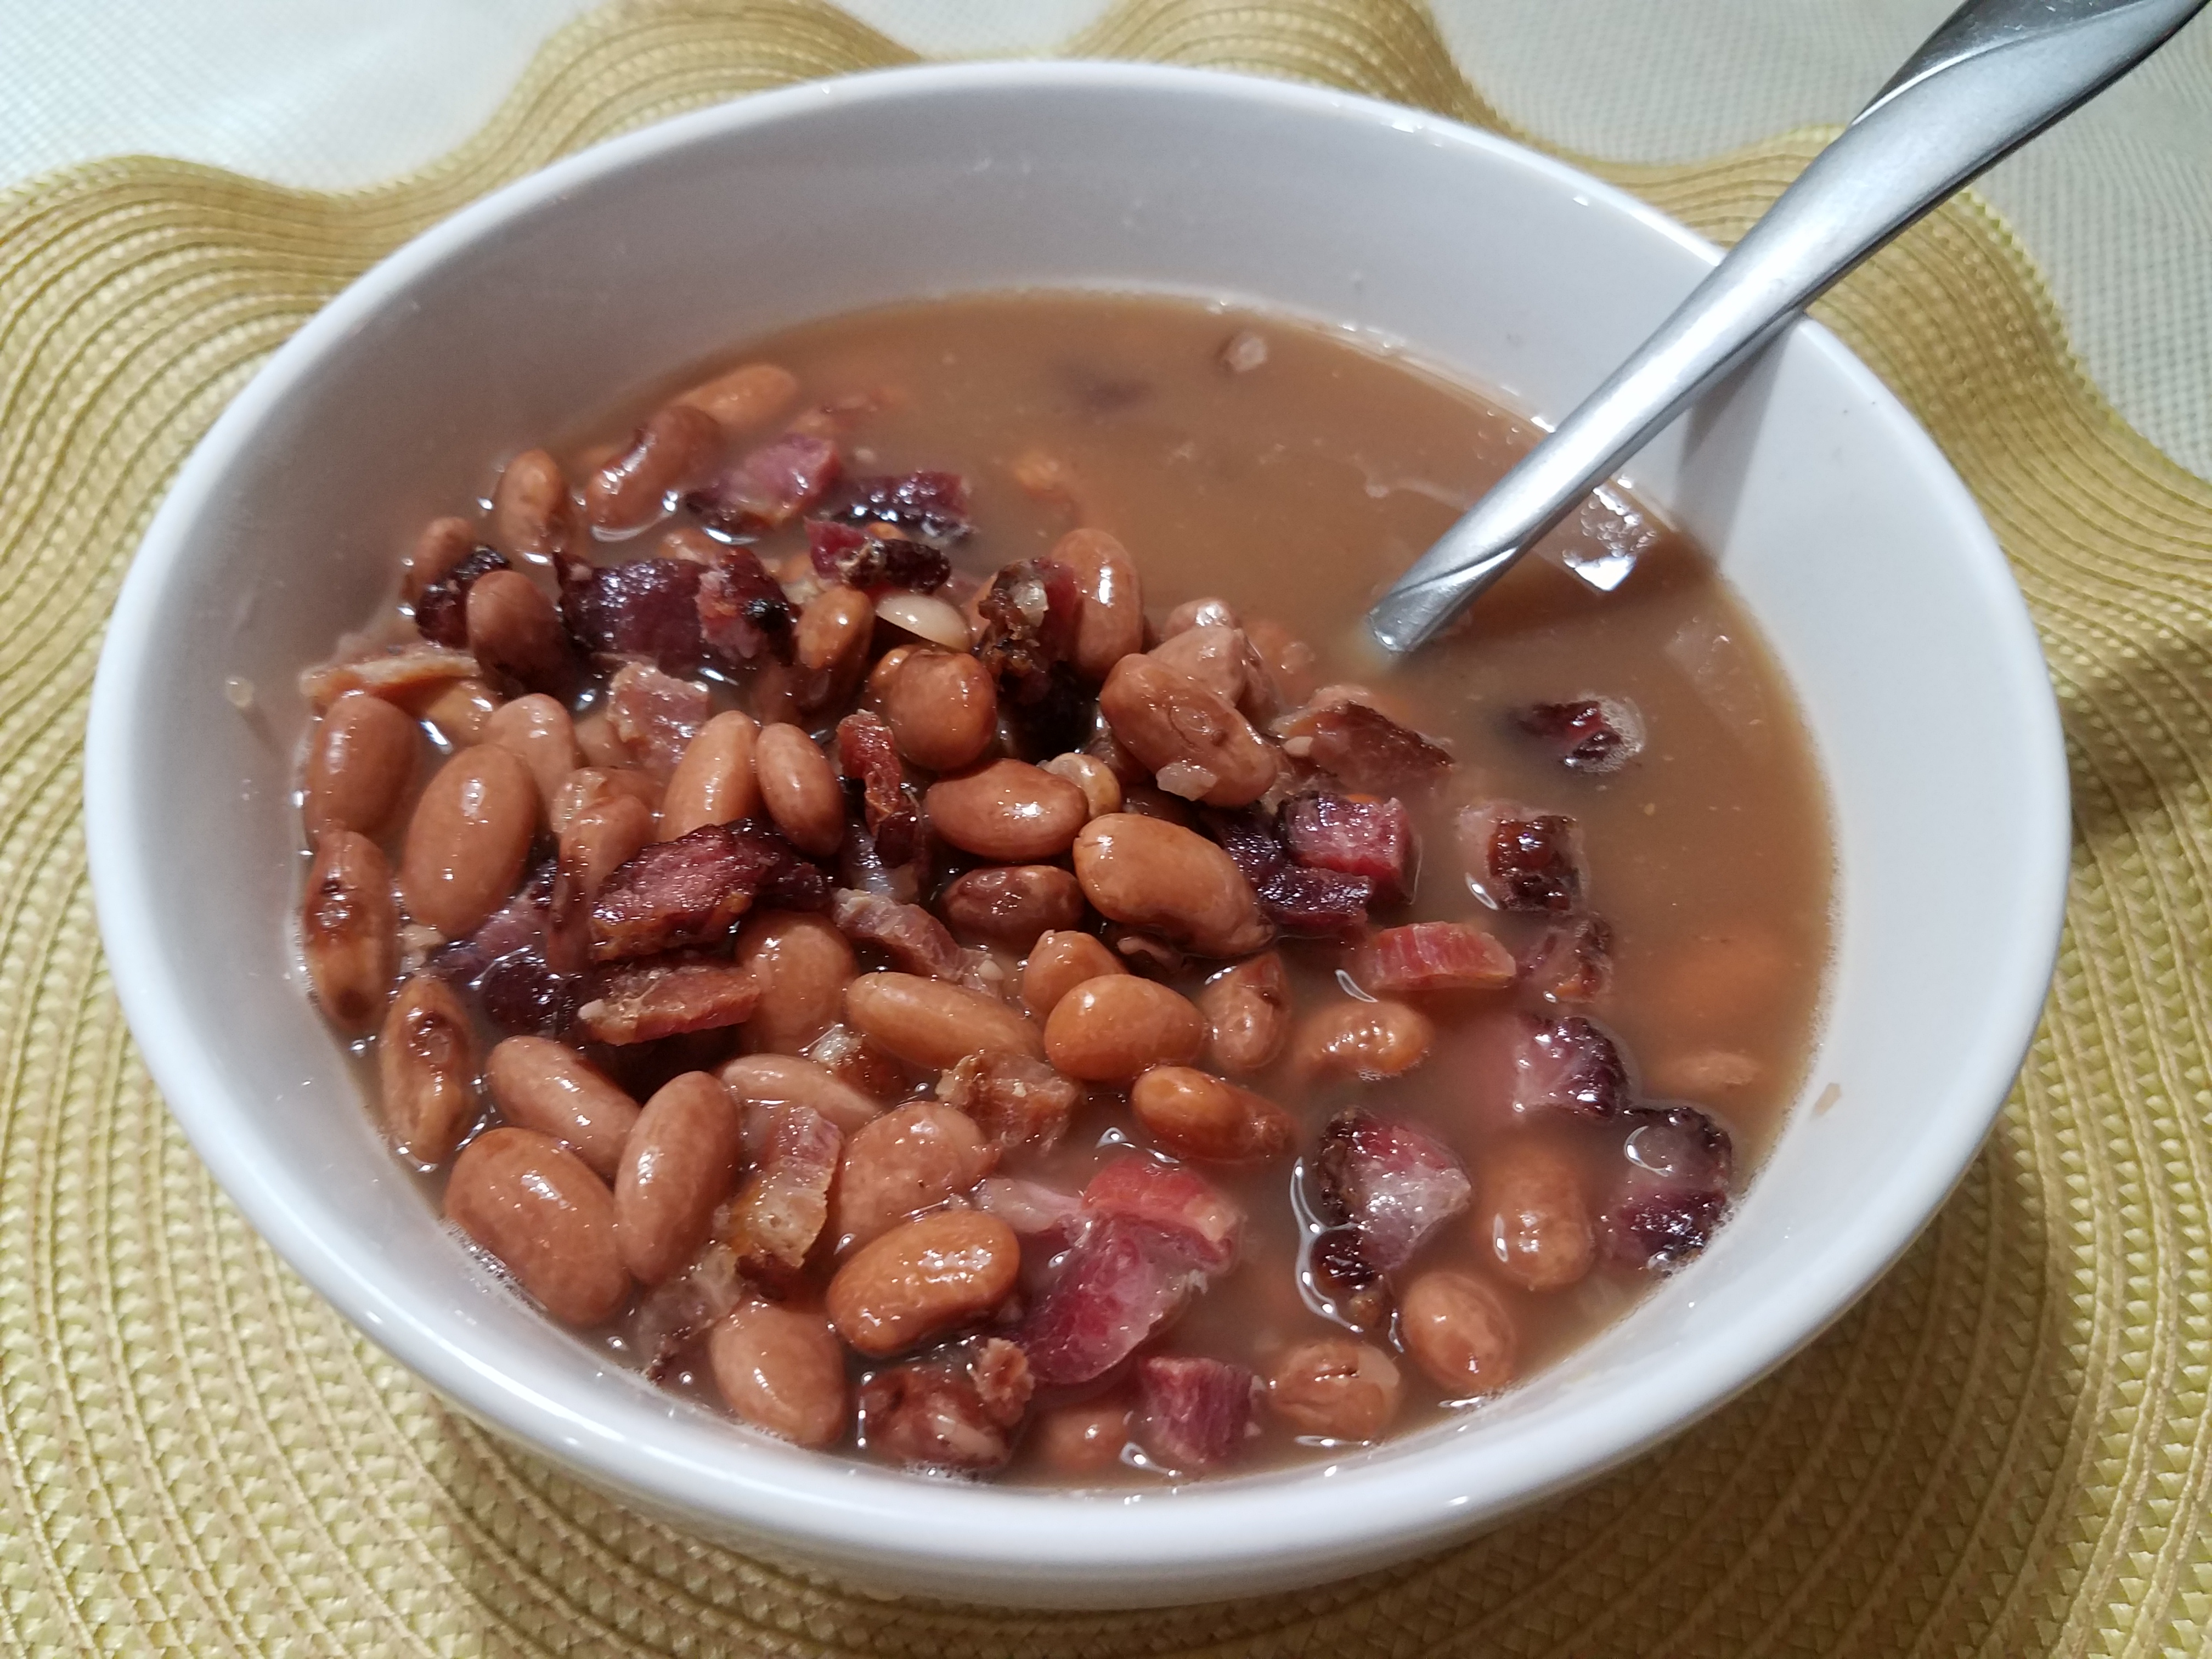
Beans for One
Here is the second post in a group of sous vide cooked side dishes – beans…
Share this:
- Click to share on Facebook (Opens in new window)
- Click to share on Pinterest (Opens in new window)
- Click to share on Twitter (Opens in new window)
- Click to share on Tumblr (Opens in new window)
- Click to share on Reddit (Opens in new window)
- Click to share on WhatsApp (Opens in new window)
- Click to email a link to a friend (Opens in new window)
- Click to print (Opens in new window)
Sous Vide Corn on the Cob
With beautiful Summer weather in full swing and a plethora of fresh produce available, I…
Share this:
- Click to share on Facebook (Opens in new window)
- Click to share on Pinterest (Opens in new window)
- Click to share on Twitter (Opens in new window)
- Click to share on Tumblr (Opens in new window)
- Click to share on Reddit (Opens in new window)
- Click to share on WhatsApp (Opens in new window)
- Click to email a link to a friend (Opens in new window)
- Click to print (Opens in new window)
14 COMMENTS
Leave A Comment
If you like the recipe or have made the dish, please let me know your thoughts!Cancel reply
This site uses Akismet to reduce spam. Learn how your comment data is processed.


Lisa | 21st Nov 17
What about brown rice? Will the recipe be the same?
Kent | 22nd Nov 17
Hi Lisa!
I haven’t personally tested brown rice, but from what I read it does work the same except the cooking time is 60 to 65 minutes. Once I have tested it myself, I will create a dedicated post and link back to this one.
I hope this information helps!
Kent
Raj | 13th Aug 18
I know I am terribly late to the conversation but thank you for this post. I hate rice cookers and boiling rice in the pot. I don’t like having rice stick to the edge of a pot and having to throw it out. Also, I feel very comfortable setting and forgetting when it comes for the Sous vide.
Kent | 13th Aug 18
Hi Raj,
I am glad this post has been helpful to you. I know I was amazed when I first did it and now I cook rice this way all the time!
Kent
Vince | 3rd Jan 19
Worked like a charm. I’m an old widower and have struggled with the obstacles of cooking small servings myself. Especially rice. I didn’t even seal the bag but used one large enough to hang over side of pot when clipped in place. I was worried about warnings that ziplock bags may not stay sealed above 153 F.
Glad I found your site.
Kent | 3rd Jan 19
Hi Vince, I am glad you found my site and enjoy the recipes. That White Rice ‘trick’ is great – especially if you have recloseable valve bags that can handle the higher temperatures. My wife just had me make a batch of fig jam – the Balsamic Ginger variety – and she is enjoying it. The recloseable bags work wonderfully in these recipes.
Stay tuned as I have new ideas percolating for upcoming posts to start the new year with.
Kent
Me | 13th Jan 19
This method turned my rice into complete mush in about 18 minutes at 200 degrees Fahrenheit.
Kent | 13th Jan 19
Me, I am sorry to hear about that experience. At a 1 to 1 ratio, I would not expect the rice to become mushy. Can you tell me what type of rice you were cooking? Is it possible the bag had a leak and allowed cooking water to seep in?
Ashcorp | 6th Sep 19
I am concerned about the temperature of 200f- 97c.
Most bags are only rated at upto 80 degrees celsius.
What are your toughts on this?
Kent | 6th Sep 19
I agree that if you were to use standard zipper type bags with the water displacement method, they could fail at that temperature especially if the cook takes quite a long time. I would source bags that are resilient to 90C. Personally, I used several types of zipper with valve bags rated at 90C with no issues.
Jim Hightower | 22nd Sep 20
Thank you for the post on cooking rice sous vide. One of my YouTube subscribers sent me one today and I needed something to try tonight. It’s still cooking, but your post was very helpful.
Kent | 23rd Sep 20
Thank you Jim, I am glad you found the post helpful. To be honest, I was skeptical about it working when I first read about it!
Roger Shoaf | 15th Dec 20
I like the idea of sous vide rice but so far my results have been disappointing.
First time the vacuum sealer sucked out some of the water and the rice was kinda crunchy.
Next I froze the liquid and mixed in some leftover turkey, some peas, and some gravy.
Just before the time was up, the seam failed on the bag.
I had acquired a chamber vacuum sealer, so I had been using my ex wife’s food saver. I think that will work a lot better. My goal is to have punches made up and ready to heat and eat.
Kent | 17th Dec 20
Hi Roger, I am sorry to hear your experiences have been impacted by setbacks, but keep trying. The chamber vacuum sealer will help since it doesn’t suck the air from the bag, but rather empties the whole chamber and then seals the bags before releasing the vacuum. If using a suction style vacuum sealer like FoodSaver, you can use the trick in this post to manage the liquid in the bag – Sous Vide Greek Chicken .
Happy cooking!